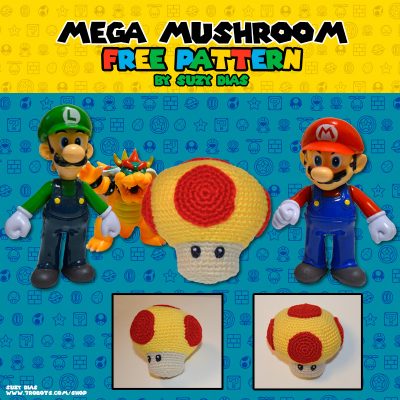
• Yarn colors: Yellow and beige (or off-white)
• Hook: 3 mm
• Yarn needle
• Black felt for eyes
• White embroidery thread for the highlights on the eyes
Abbreviations: R – Round, MR – magic ring, ST/STS – stitch/stitches, SC – single crochet, INC – 2 single crochets (SC) in the same stitch, INVDEC – invisible decrease, EVEN – SC 1 in each ST around (the stitch count remains the same), x – times to repeat items listed in [brackets]
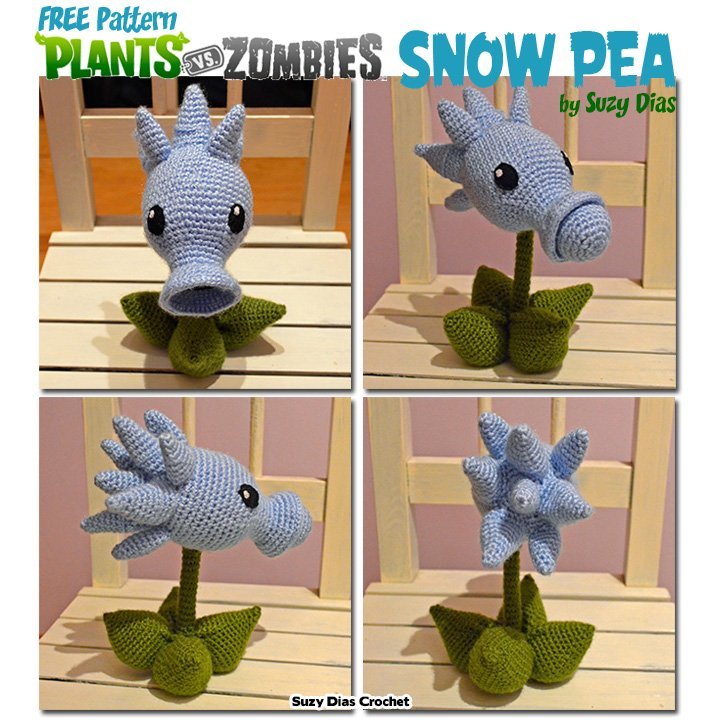
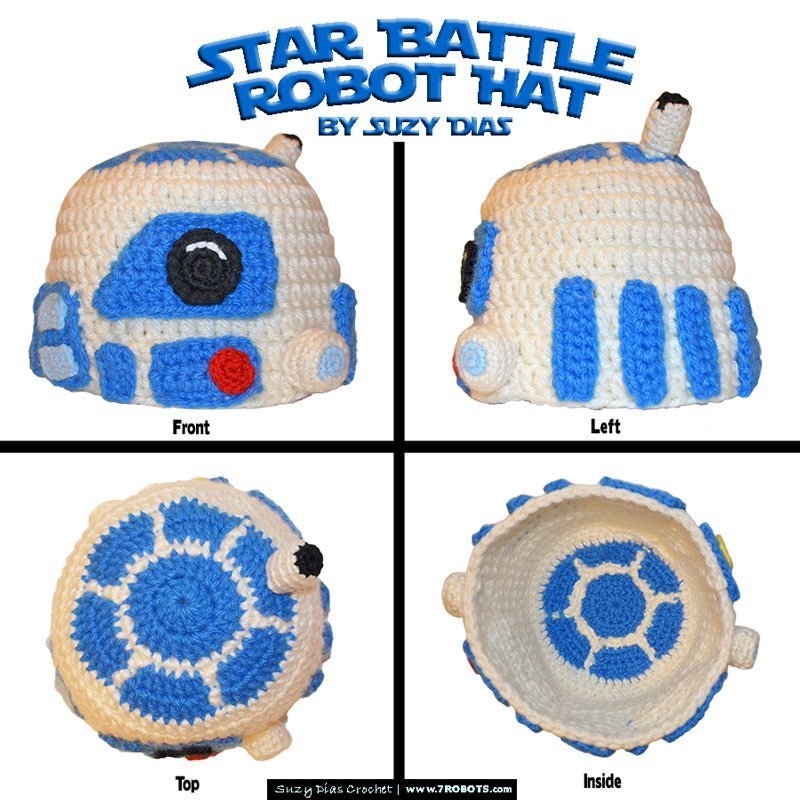
MUSHROOM CAP & STEM
* Use yellow yarn for the cap and then change to beige (off-white).
R1: MR, SC 6 (6)
R2: INC around (12)
R3: [SC 1, INC] around (18)
R4: [SC 2, INC] around (24)
R5: [SC 3, INC] around (30)
R6: [SC 4, INC] around (36)
R7: [SC 5, INC] around (42)
R8: [SC 6, INC] around (48)
R9: [SC 7, INC] around (54)
R10: [SC 8, INC] around (60)
R11: EVEN (60)
R12: [SC 10, INC] around (66)
R13: [SC 11, INC] around (72)
R14-18: EVEN (72)
R19: [SC 10, INVDEC] around (66)
R20: [SC 9, INVDEC] around (60)
R21: [SC 8, INVDEC] around (54)
R22: [SC 7, INVDEC] around (48)
R23: [SC 6, INVDEC] around (42)
R24: [SC 5, INVDEC] around (36)
» STEM BEGINS HERE:
* Change to beige (off-white) yarn for the stem.
R25: BLO [SC 4, INVDEC] around (30)
R26-30: EVEN (30)
– You can work on the eyes now for easy sewing. See the “Assembly” section for more info.
– Stuff the cap generously. Continue stuffing as you go along.
R31: BLO [SC 3, INVDEC] around (24)
R32: [SC 2, INVDEC] around (18)
R33: [SC 1, INVDEC] around (12)
– Stuff more if needed.
R34: INVDEC around (6)
– F/O and weave tail through final stitches to close the hole and hide the rest inside the mushroom.
SPOTS (make 5)
R1: MR, SC 6 (6)
R2: INC around (12)
R3: [SC 1, INC] around (18)
R4: [SC 2, INC] around (24)
R5: [SC 3, INC] around (30)
ASSEMBLY
EYES
1. Cut 2 small ovals out of black felt. Mine were about 2 1/2 stitches high and 1 1/2 stitches wide.
2. Take some white thread and a regular needle and sew a few stitches next to each other to create the look of a highlight.
3. Sew each eyes (already with the highlight) so the top sits between between R25 and R26. Leave 3 stitches in between.
4. Secure the thread inside so the tails are hidden.
SPOTS
1. Before you begin to sew, pin the spots in place. Count the number of stitches in between each spot so that they are evenly spaced. Use the front spot as your guide since you can centre this above the eyes.
2. Sew the front spot on first, followed by the back spot.
3. Sew one spot to each side.
4. Lastly, sew on last spot to the top.
Woohoo! You’re all done. Enjoy your Mega Mushroom
Here are a few basic videos that you may find helpful:
– Magic Ring: https://www.youtube.com/watch?v=sLUaywX0-WE
– Crochet ball: https://www.youtube.com/watch?v=mJ47MLlrLzw
Reviews
There are no reviews yet.